 I’ve been coveting a plotter since forever. All those plotter videos on Instagram and Twitter are fascinating to watch. As a generative artist who to date has focused on digital, screen based pieces, I have long wanted to produce physical editions of my work and plotters seem to be the logical first step in this direction.
I had been hesitant at committing to buying a plotter, mainly due to the relatively high cost. So when I found the iDraw 2.0 at roughly half the cost of an Axidraw, it seemed like a good way to explore plotting without committing too much up front.
I’ve had the machine now for a few weeks and the Uuna Tek team who produce the iDraw asked if I would do an unbiased review in exchange for a refund on my purchase. Of course I said yes! So here we go.
Purchasing and setup
Once I had decided to buy the iDraw, the purchasing process was very straightforward. Once ordered, the package arrived in just under two weeks.
For information about where to purchase and a 15% discount coupon code, see the Where to Buy section below.
Setting up the iDraw was relatively simple. Uuna Tek provide an unboxing and assembly video that explained the process. From the moment the package was opened, it took approximately 20 minutes to assemble and prepare the machine for operation. The main job was to attach the x-axis arm via some hand-screwed bolts. Then attach the cables. Best to watch the video first, but all the cable points are labeled so I didn’t find any issues.
One thing I like about the unit I bought is that it came with an attached base-plate so that the drawing surface is attached to the plotter arm. Under the baseplate, there are adjustable rubber feet. My studio space is fairly compact, so I wanted to place the plotter on top of some shelving units that are narrower than the iDraw by a few centimetres. The feet could be adjusted using the included hex key and it now sits nicely on the shelves with a small overhang. 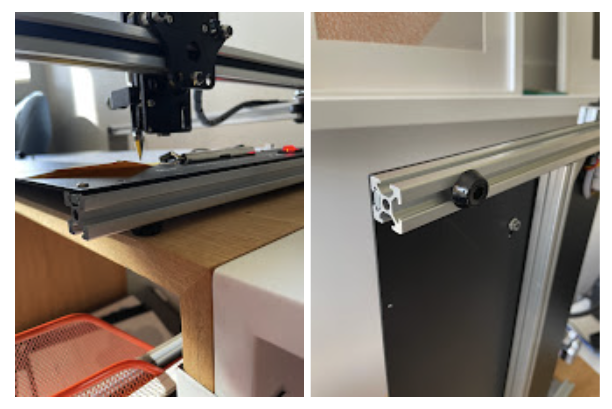
Software
Installing the necessary software for the iDraw Pen Plotter 2.0 was relatively straightforward. Like Axidraw, the iDraw uses Inkscape and a custom Inkscape extension to control the machine.
One thing that I was disappointed to find out is that, unlike the Axidraw, there is no alternative to using Inkscape. The Axidraw can be controlled using the axicli CLI/API as well as and third-party web-based tools such as Nornagon’s saxi. This allows for a much wider range of use cases as well as programatic control of the plotter for doing things like painting.
For a good overview of using plotters to paint, I found this article useful
So for now I’m stuck with Inkscape. Inkscape and the extensions are still more than enough to use the iDraw, so perhaps it isn’t such a big downside if you are sticking to plotting with pens.
Preparing to plot
So armed with one of my own generative designs, I fired up Inkscape and loaded my SVG file.
Because the baseplate is metal, the included magnets securely hold the paper in place while plotting. The iDraw team recommend you use one of the magnets as a spacer when attaching the pen in the machine. Place a pen in the holder and rest the top on top of one of the magnets. Then tighten the pen holder. The pen is then set at the correct height for the up position.
As I was new to using a plotter, one thing that did confuse me was how to calibrate the machine. I attempted to plot the design a number of times but it kept on drawing it off-centre using seemingly random starting points.
After watching a few of Dan Catt’s excellent plotting videos I figured out that I needed to tell the plotter where to start. This involved manually moving the pen to the top-right corner of my page, then using the Setup > Cycle pen down then up command to lower and raise the pen in the corner. I could then swap to the plot tab and bingo, it worked perfectly.
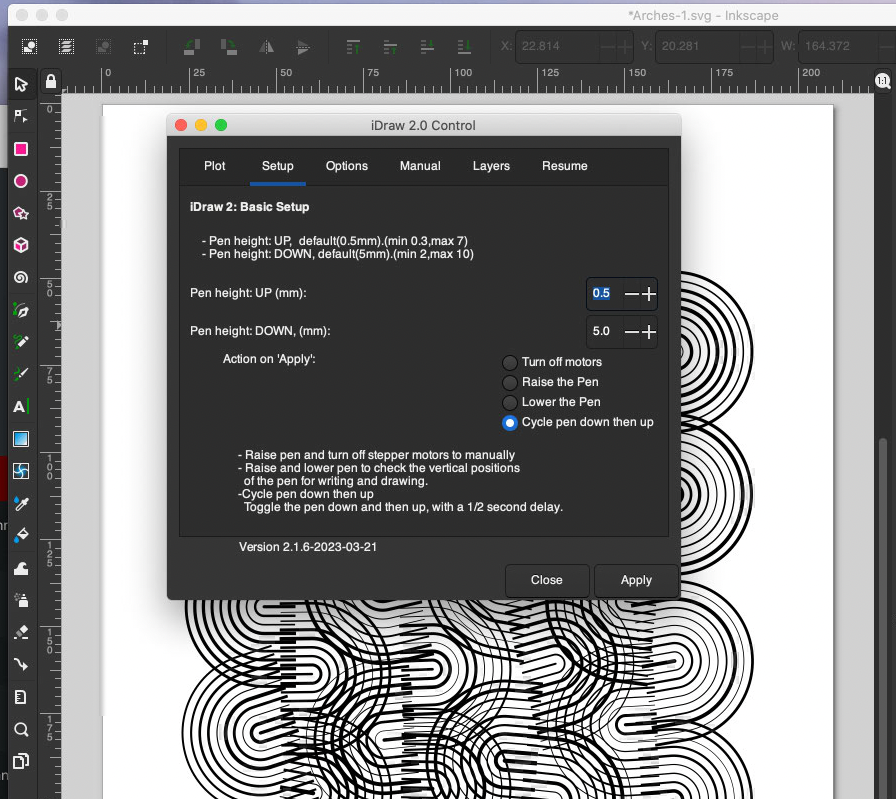 Using the Setup / Cycle pen down then up command via Inkscape
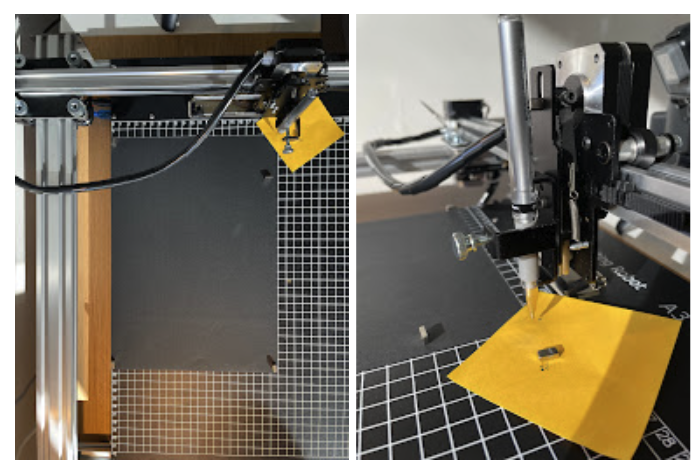 Aligning the pen at the top-right corner of the page before plotting
Another tip from Dan Catt was to put some tape (or in my case a post-it note) over the corner of the paper so that the pen doesn’t mark the paper during the pen down/up cycle.
I would highly recommend watching a few other plotting videos, including those provided by Uuna Tek before diving in. While the iDraw team have provided a whole YouTube channel of videos for their products, I still would prefer to see some written documentation of the machine. At times I had to refer to the excellent Axidraw wiki just to get my head around using the plotter.
Time to plot
To start plotting, select the Plot tab in the iDraw 2.0 Control dialog and then click the Apply button. 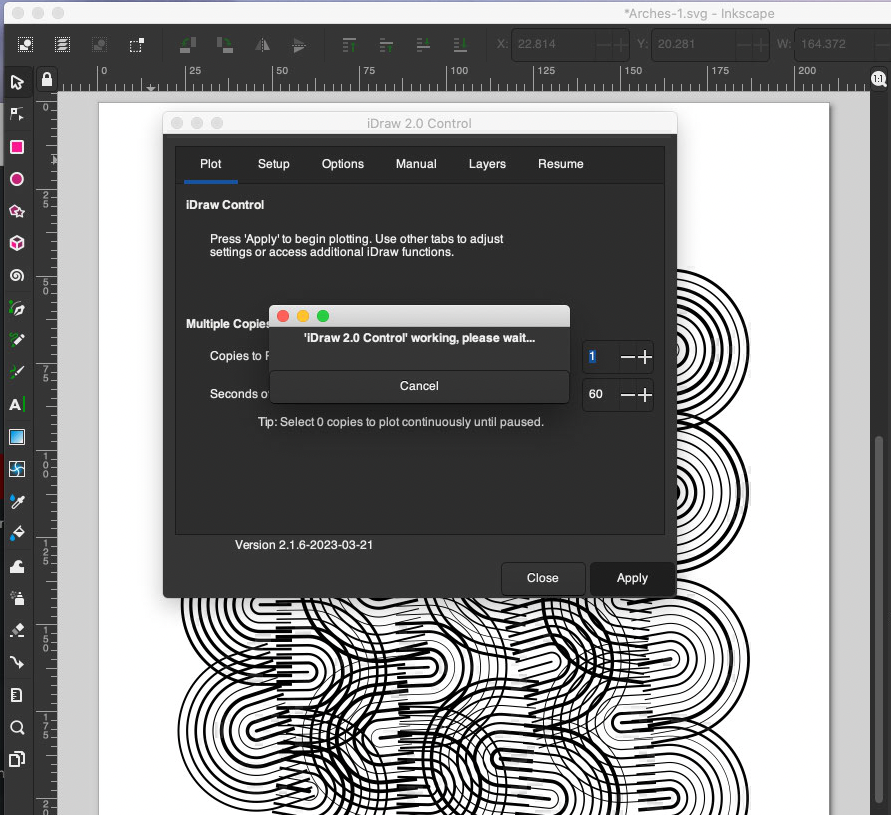 The plot tab in the iDraw 2.0 Control dialog
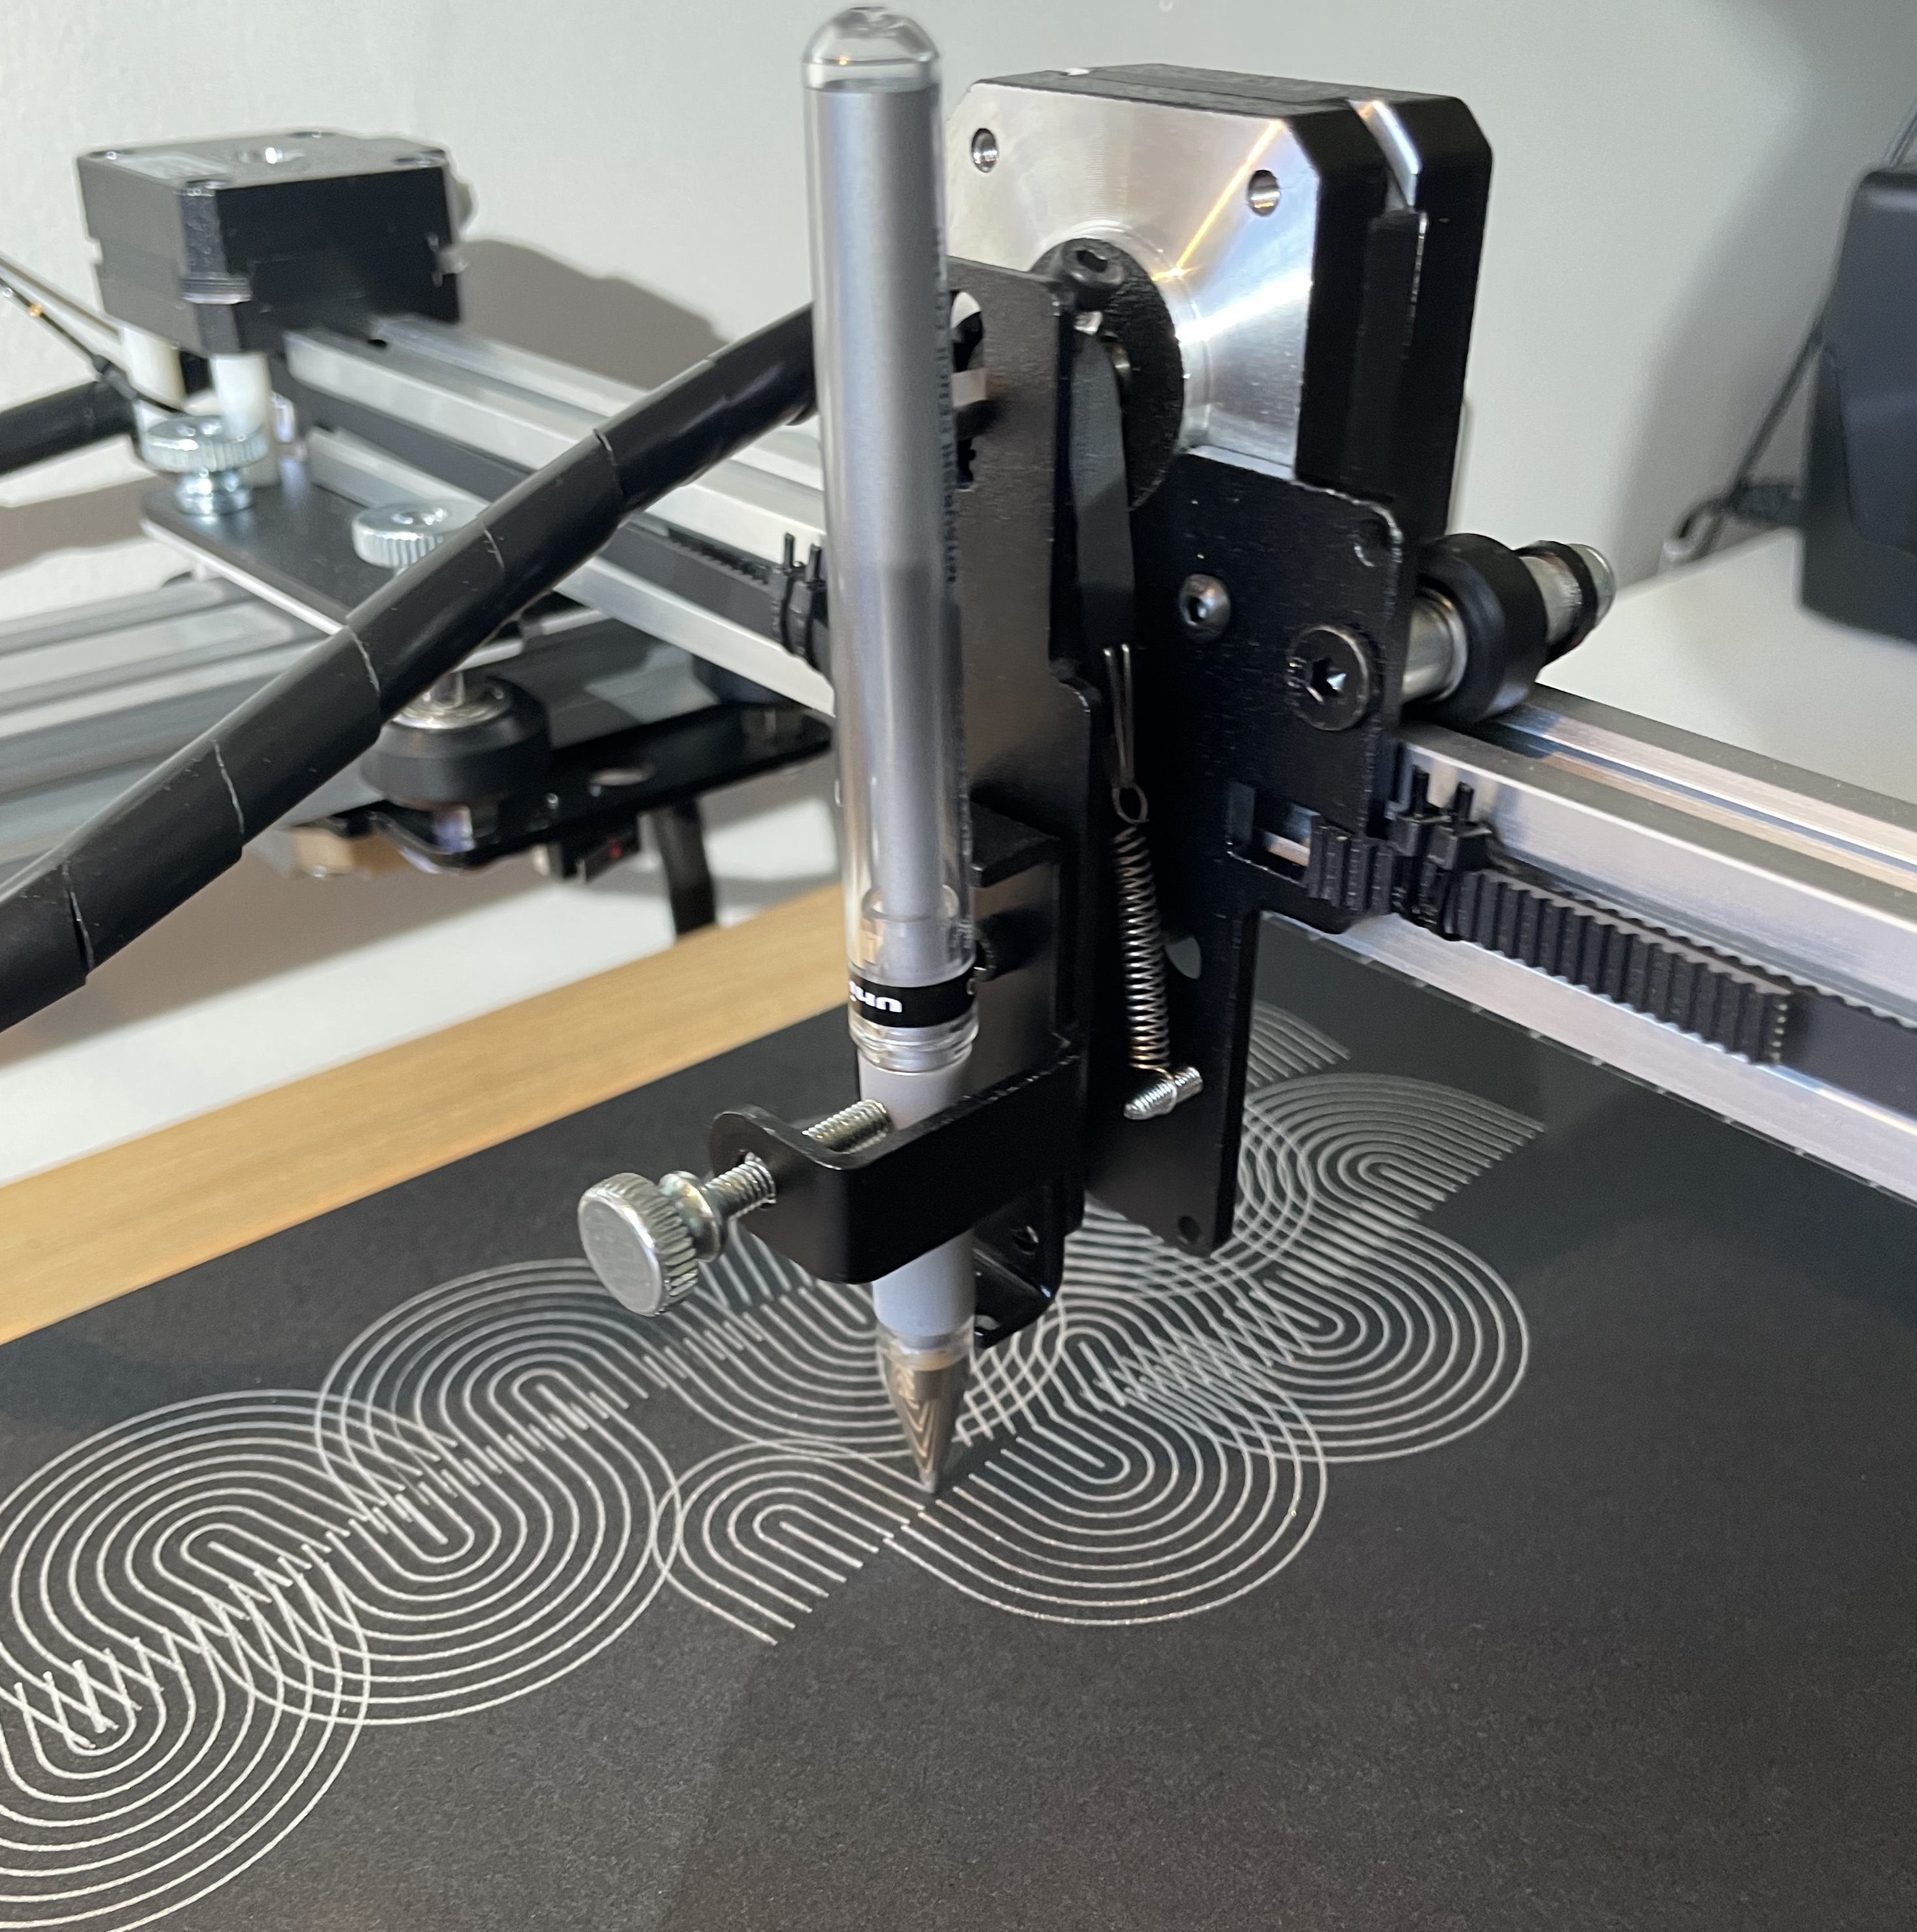 The plotter in action
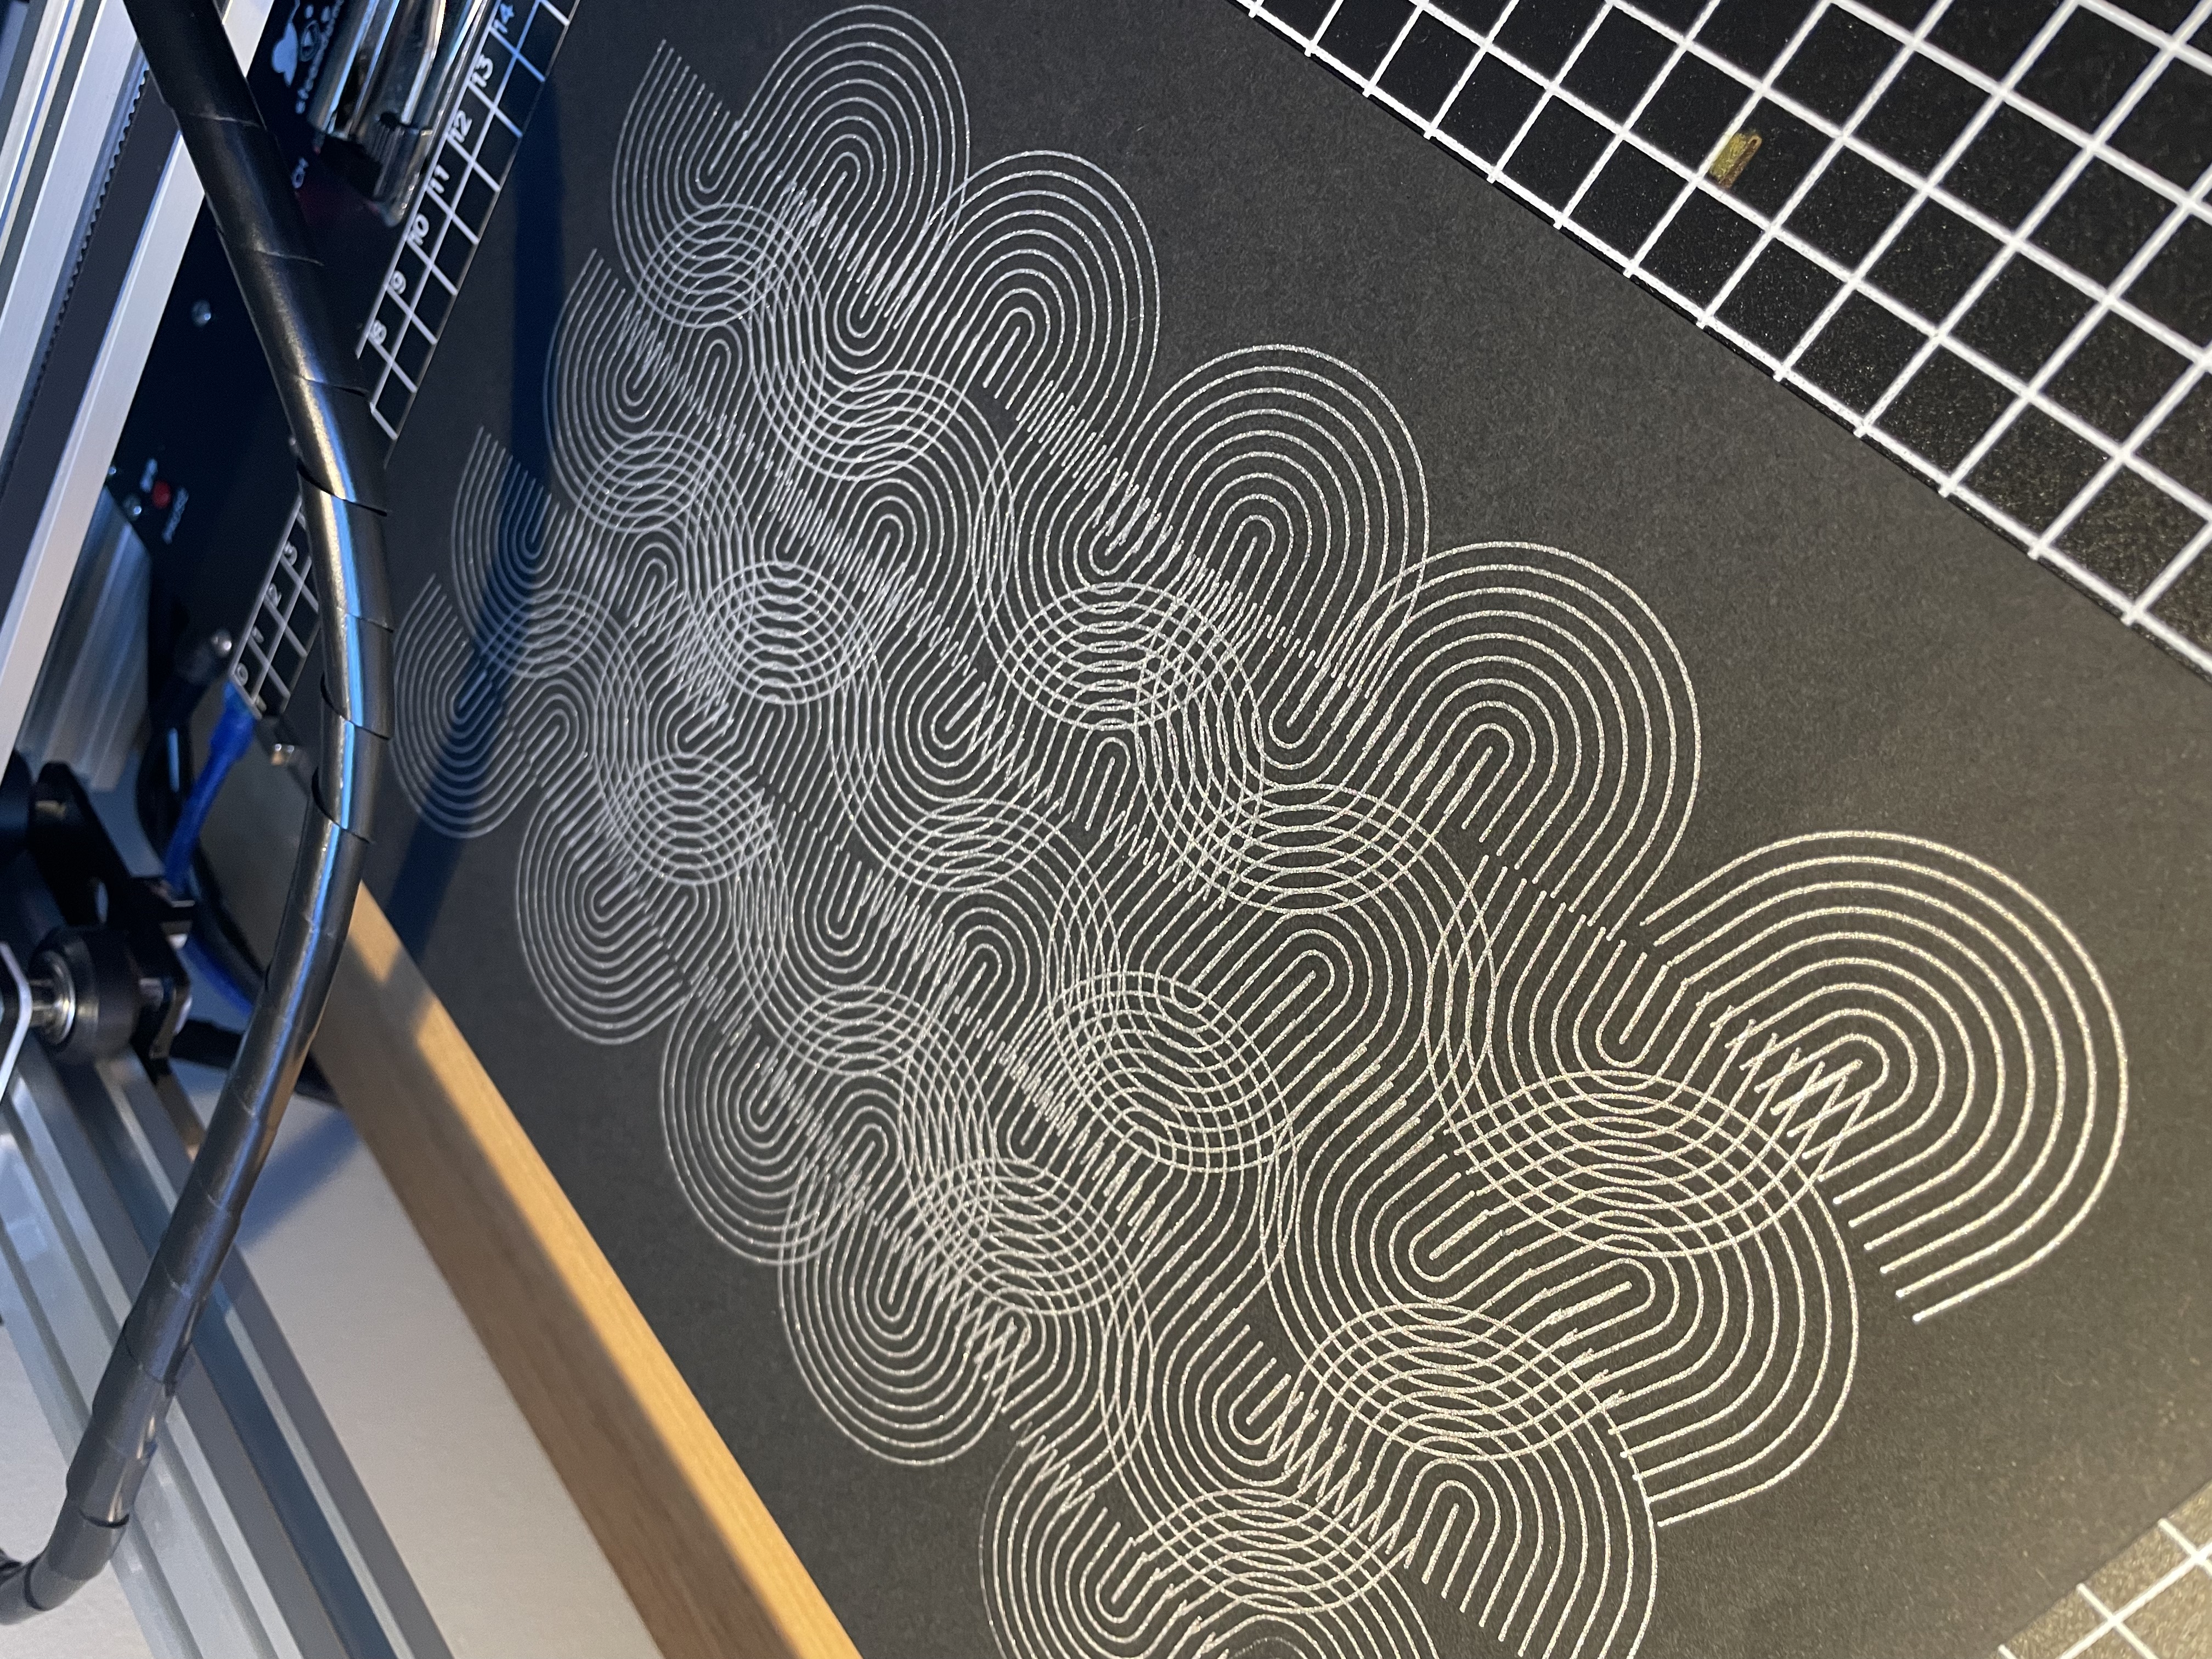
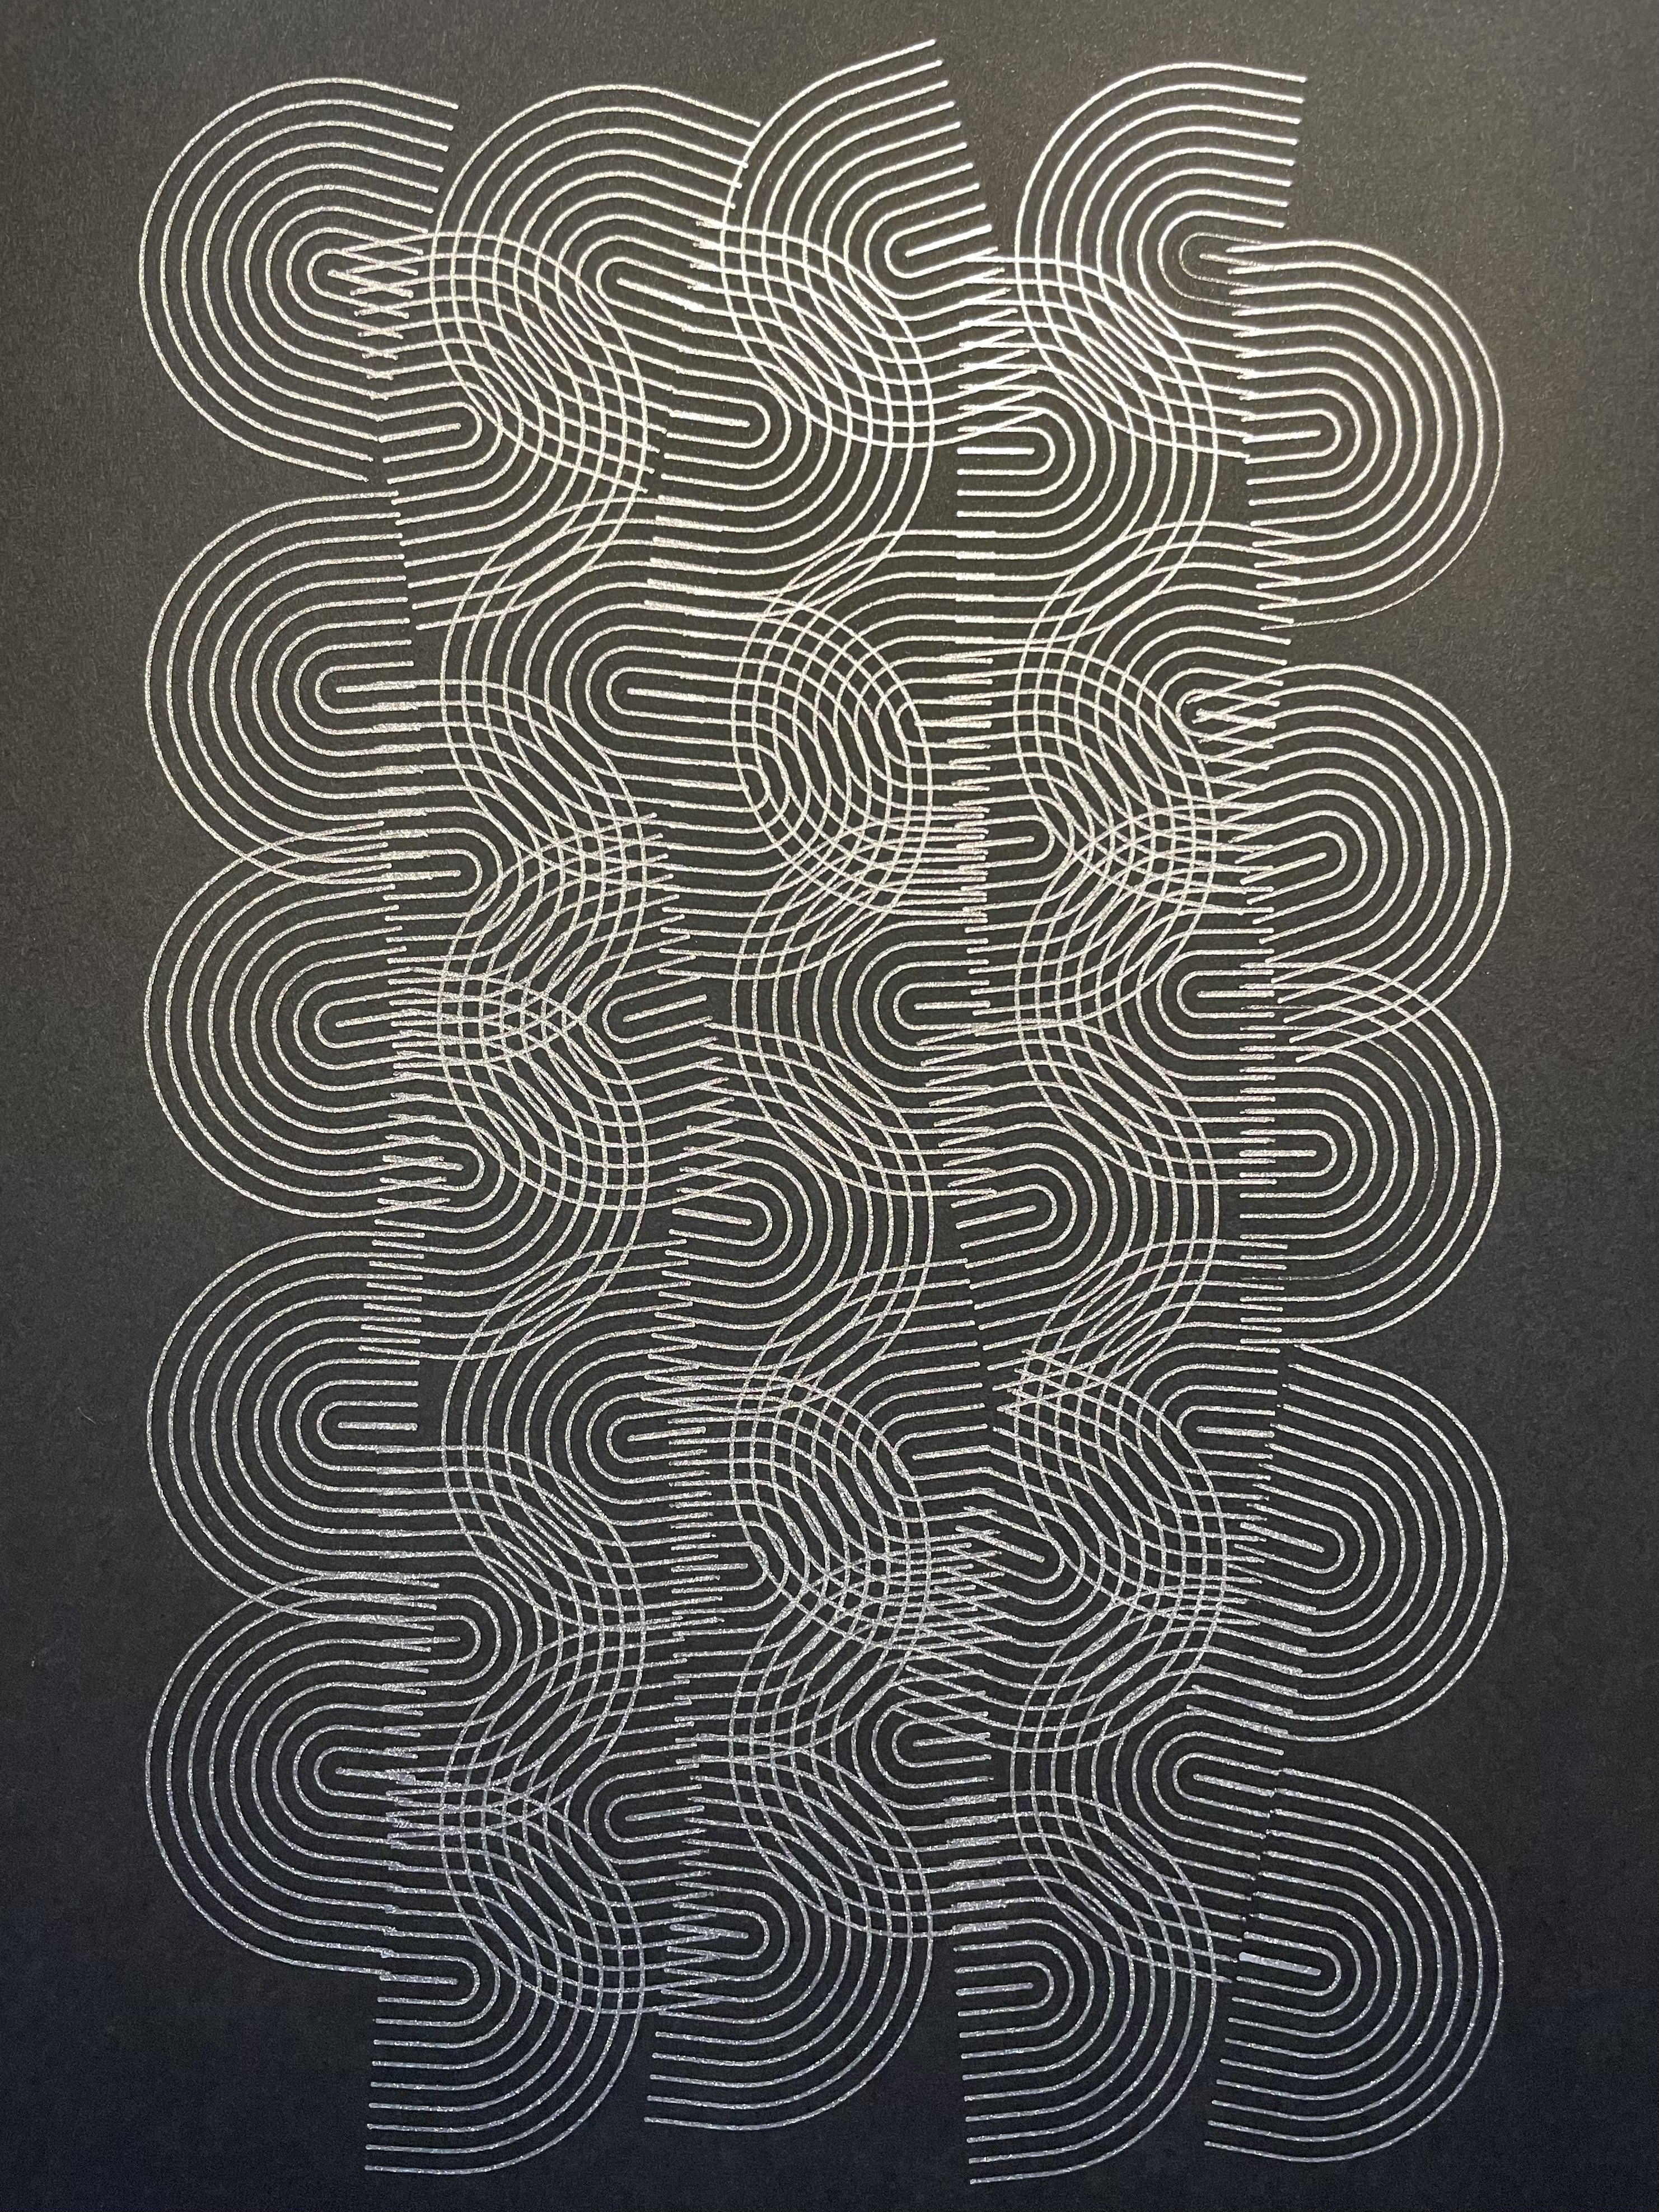
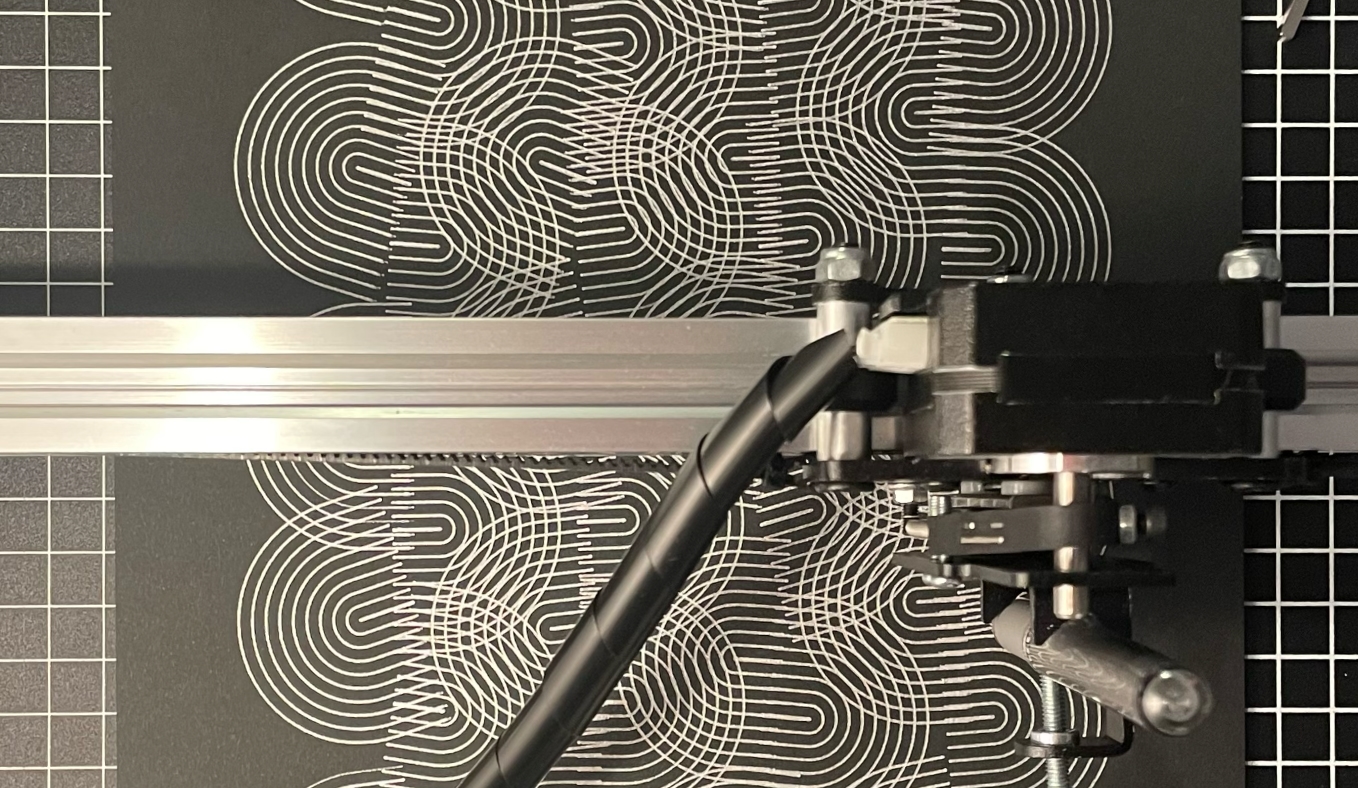
For this plot, I used Reeves Black Paper 140gsm and a Uni-ball Signo Broad UM-153 Silver pen. I only did one pass but the Uni-ball pen did a great job with even application of ink. In terms of plotting, the iDraw worked perfectly.
Using other pens
I tried the plotter with a range of pens including Uni-ball Signo gel-roll pens, Sakura Gelly Roll, Molotow Liquid Chrome and the Tombow brush-tip pens. All worked well.
It did however open up the world of pens and paper and created an insatiable need to buy more pens - I don’t think I’m alone in this!
There is a world of reviews and guides from seasoned plotter artists out there so would recommend you seek these out to explore what is possible.
Summing up
Pros:
- Price - at almost half the price of the equivalent Axidraw, it seems to be very good value
- Baseplate - love that the baseplate and plotter are one unit, making it easy to move and place
- Speed and accuracy - the plotter performs well. Take a loot at Dan Catt’s review where he talks about the relative differences between Axidraw and iDraw.
- Support - Uuna Tek were very responsive to email queries, answering within 24 hours or less most time.
Cons:
- Lack of written documentation - would be great to have at least a wiki with some basic usage information
- No alternative to Inkscape such as a CLI or API
Overall I am very happy with my purchase. The plotter seems very capable for all pen-based plotting and I couldn’t fault the results. The inclusion of the baseplate makes for a solid unit that can be positioned in a variety of settings. If you can live without the alternative interfaces, then this is a good choice for those embarking on a plotting adventure!
Where to buy
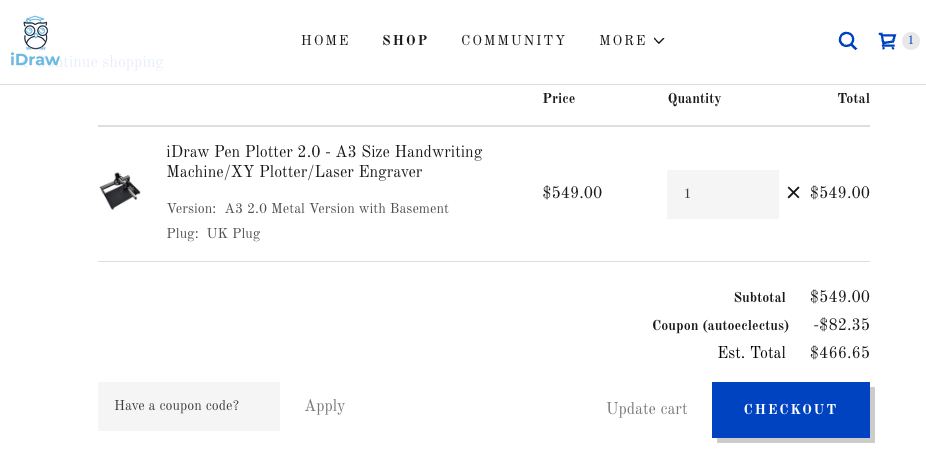
You can get the iDraw A3 with metal basement on uunatek.com for US$ 549.00. Get 15% off by using the discount code AUTOECLECTUS.
